 "Corkscrew'd" (corkscrewd)
10/17/2019 at 18:13 ē Filed to: Miata, DIY, Do-It-Yourself, MIATALIFE, miata is always the answer, Curb Rash, restoration, Wheels, blog, Blogging, COOL STUFF
 6
6
 22
22
 "Corkscrew'd" (corkscrewd)
10/17/2019 at 18:13 ē Filed to: Miata, DIY, Do-It-Yourself, MIATALIFE, miata is always the answer, Curb Rash, restoration, Wheels, blog, Blogging, COOL STUFF |  6 6
|  22 22 |
Originally posted on Corkscrewd.blog
!!! UNKNOWN CONTENT TYPE !!!
!!! UNKNOWN CONTENT TYPE !!!
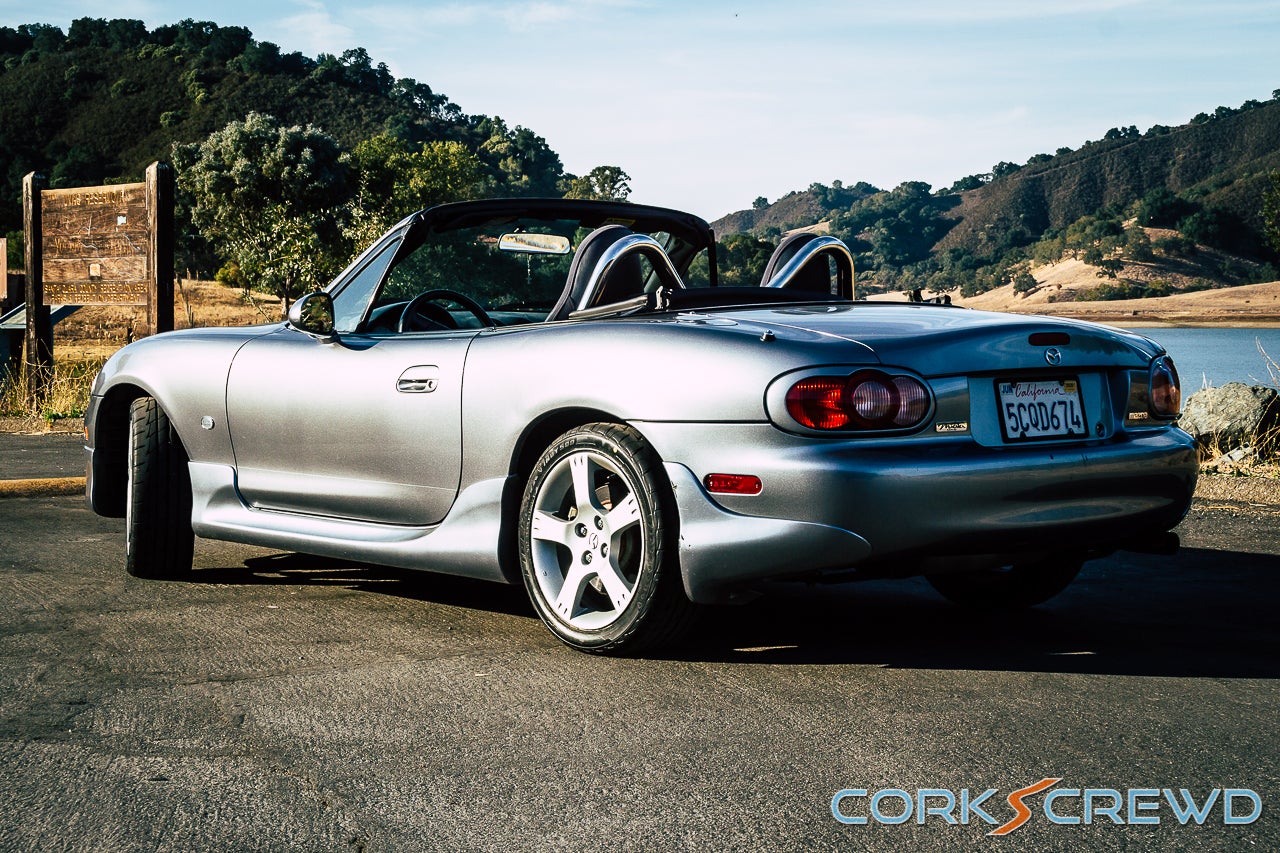
Originally, I wasnít planning on taking on another Do-It-Yourself project. But, I was browsing Craigslist one day for parts for my !!!error: Indecipherable SUB-paragraph formatting!!! to kill some time. I wasnít looking for anything in particular; I just like to browse and see what piques my interest. In my search, I found a listing I had to read several times to make sure I didnít misread:
2003 Miata SE Wheels Ė $80
$80 for a set of wheels that were offered on the top of the line !!!error: Indecipherable SUB-paragraph formatting!!! ? These wheels were what I thought a special edition Miata like the Shinsen sh o uld have come with! And here they were in a Craigslist ad for $20 a wheel! I messaged the seller t hat night and mentioned I had a Shinsen Miata that the wheels would look good on.
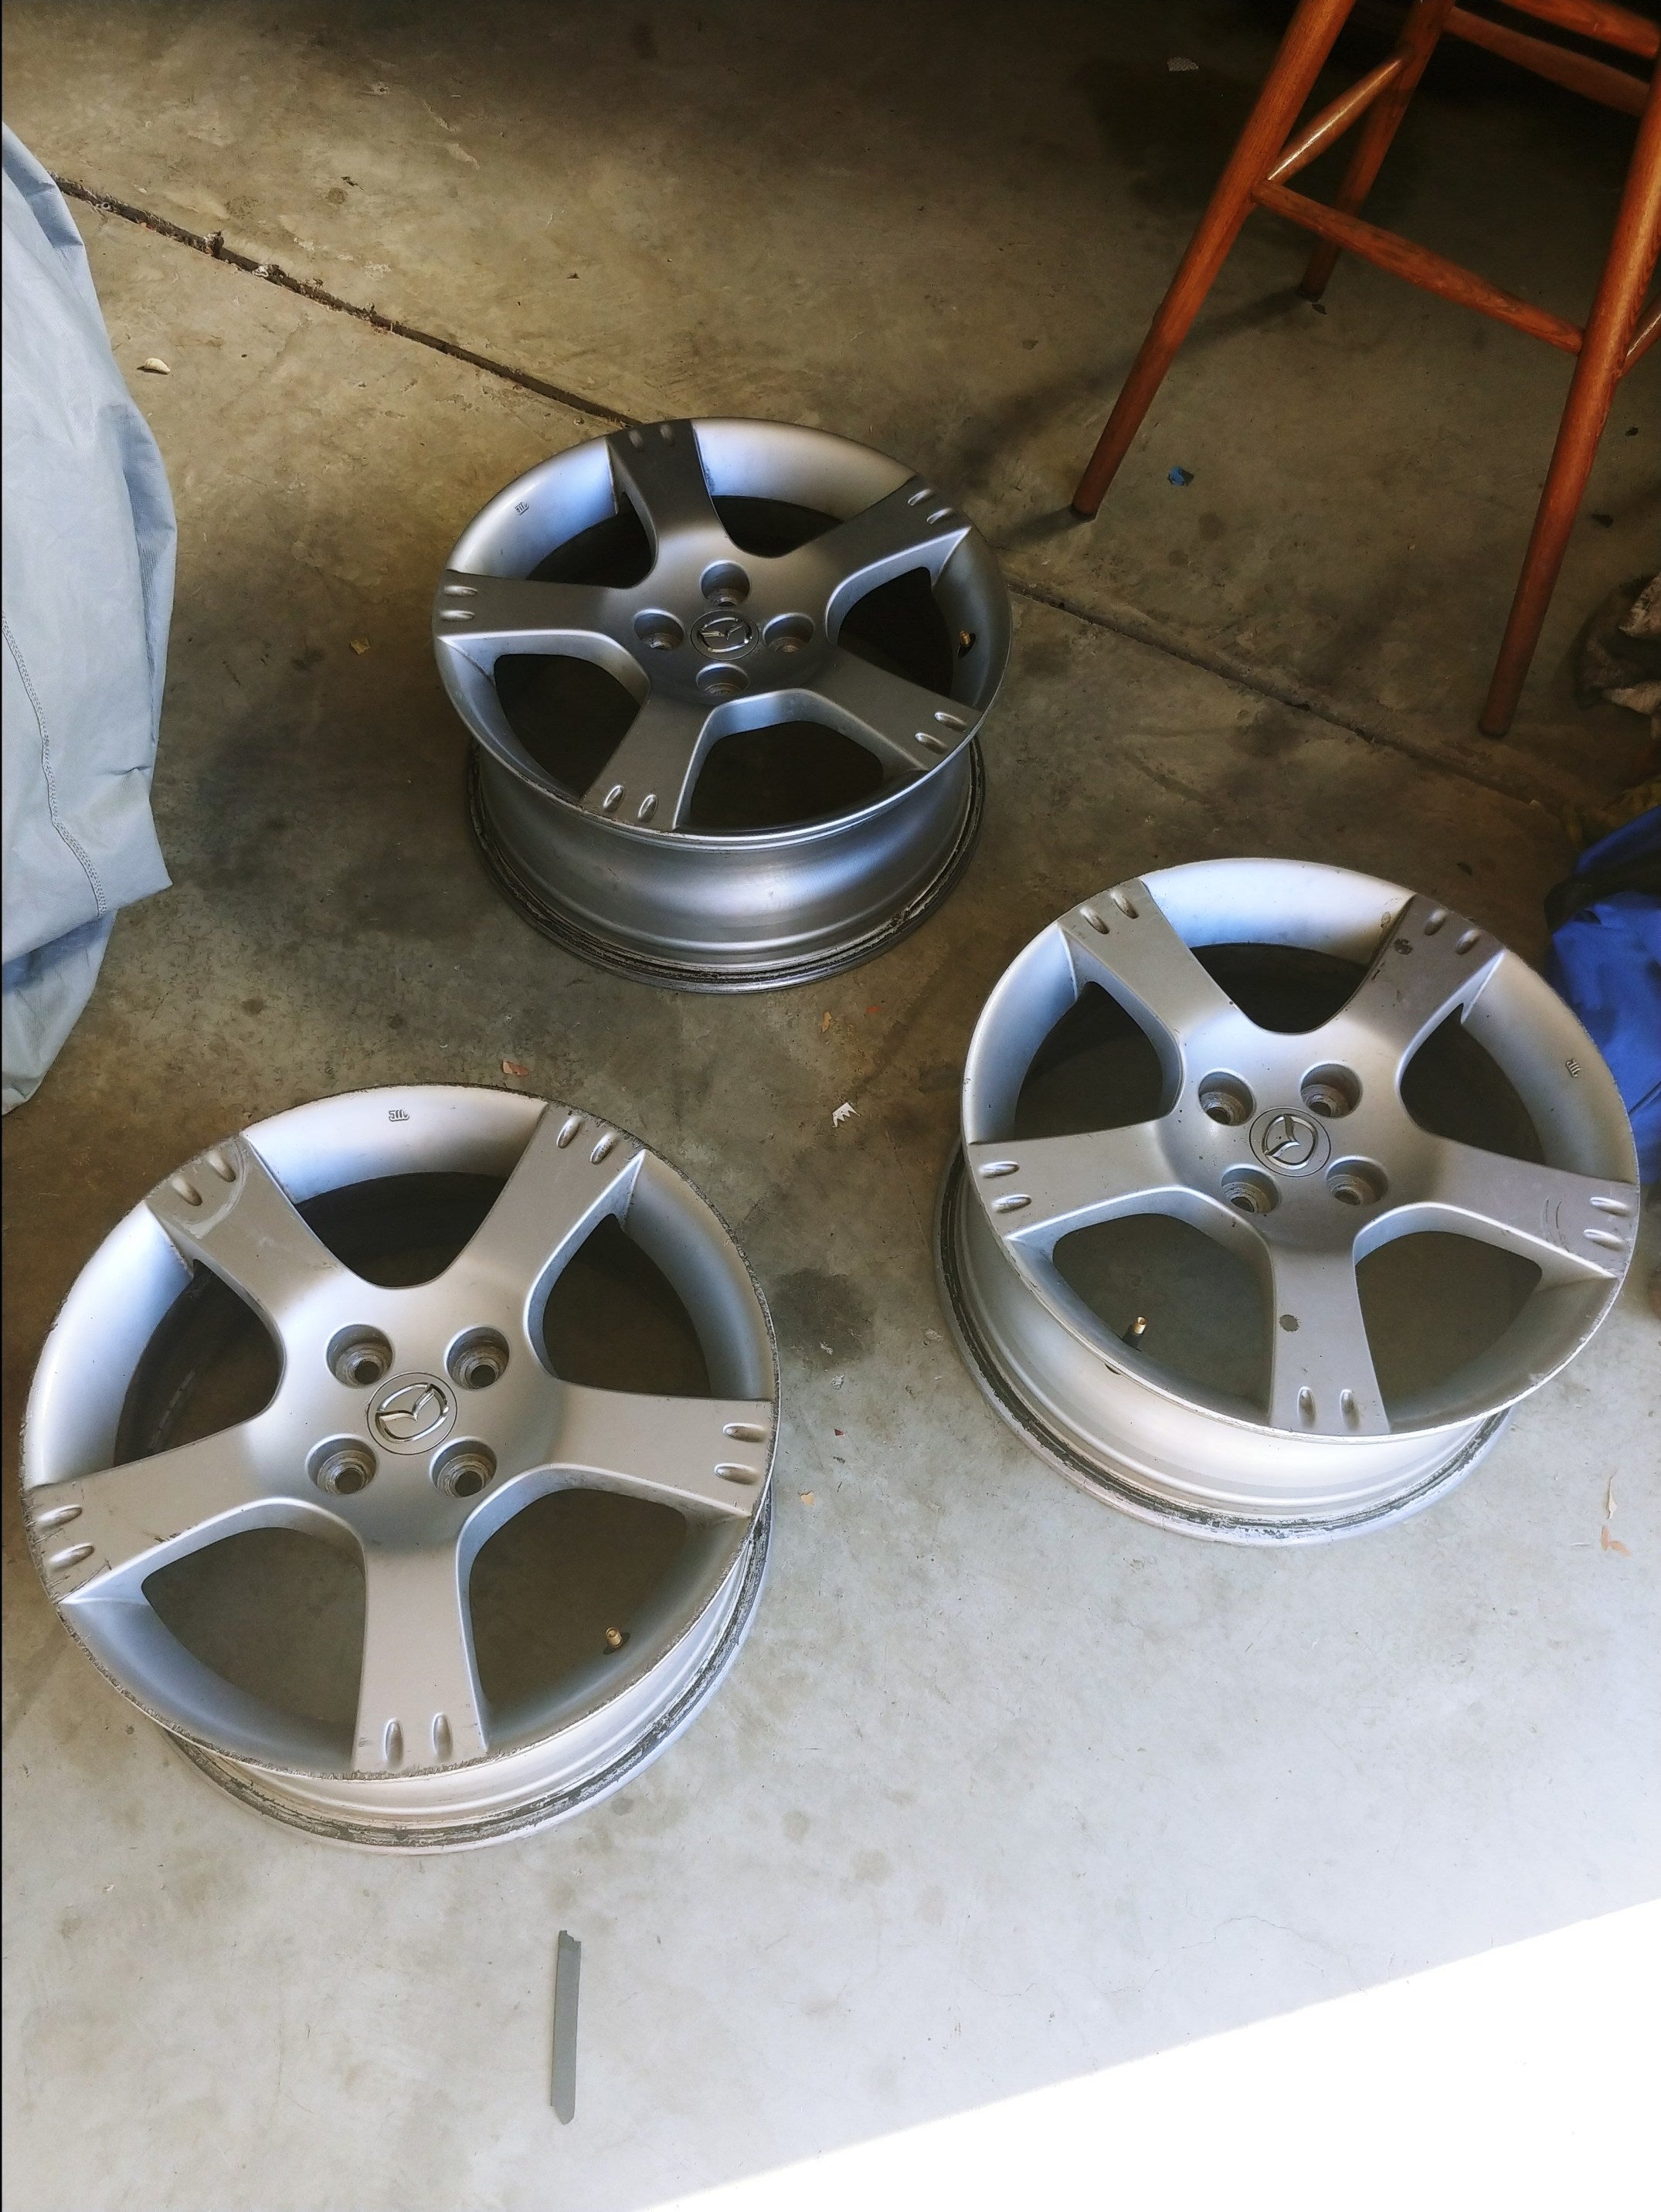
He agreed, so we made plans to meet that night. An hour later, I had a full set of rare !!!error: Indecipherable SUB-paragraph formatting!!! ! There was one caveat: The wheels were badly curbed. They might have been worse than the wheels that came with my car! But I liked the look, so I figured, ďwhy not try my hand at restoring them?Ē It was time for another Do-It-Yourself Project!
Sanding, Sanding, and More Sanding
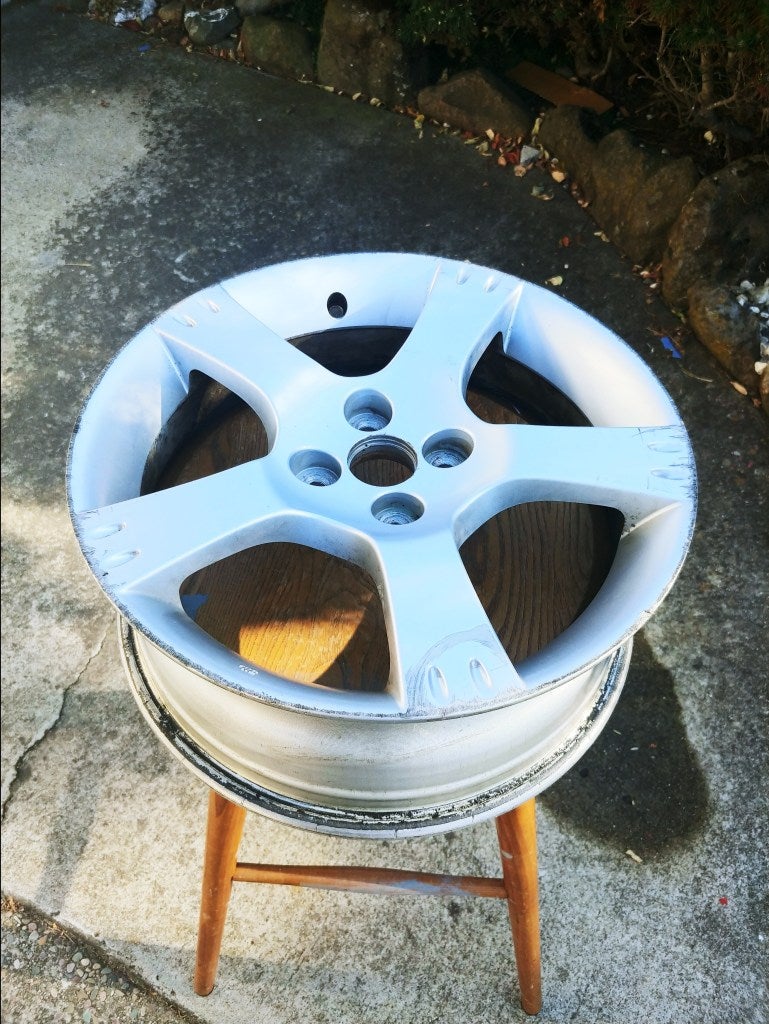
The first step to getting rid of nasty curb rash is sanding. This part is pretty tedious. You either have to put the wheel on a bench and rotate it or move around it while sanding. I ended up using an old stool since it was the perfect size for the rim. Also, it elevated the wheel to waist height, which saved my back. I cleaned the rim with soap and water to get the grease and dirt off. Then after I let it dry, I started sanding down the gouges and scratches with 220 grit sandpaper.
 !!!CAPTION ERROR: MAY BE MULTI-LINE OR CONTAIN LINK!!!
The trick here is to sand down to the bare metal so that the outer edge is uniform all around. I had to take care to sand the outside of the rim as well. This was to make sure I wasnít leaving any burrs that could shred the tire. I also had to make sure that I didnít focus on one area too long so I wouldnít have any flat spots that would show up after painting. After I was done sanding, I cleaned the rim again.
The Nameís Bondo...
Next, was the fun part. And by fun, I mean tedious. It was time to bring out the Bondo! Fillers like Bondo are great for when you need to quickly fill some spots in a surface. It has a consistency between putty and modeling clay. So if youíve done sculpting before, then youíll easily take to using Bondo.
I used a fair amount of Bondo to fill in the gouges and scratches on the surface of the rim. The goal here was to make a uniform surface that could hide the imperfections so that I could lay down some primer. I stuck a few globs of Bondo on the edges and scraped away the excess material with the plastic mixing board. Later, I found that just laying on a lot of filler would be easier to sand off once it hardened, and without the risk of taking too much off from the holes the filler is supposed to fill.
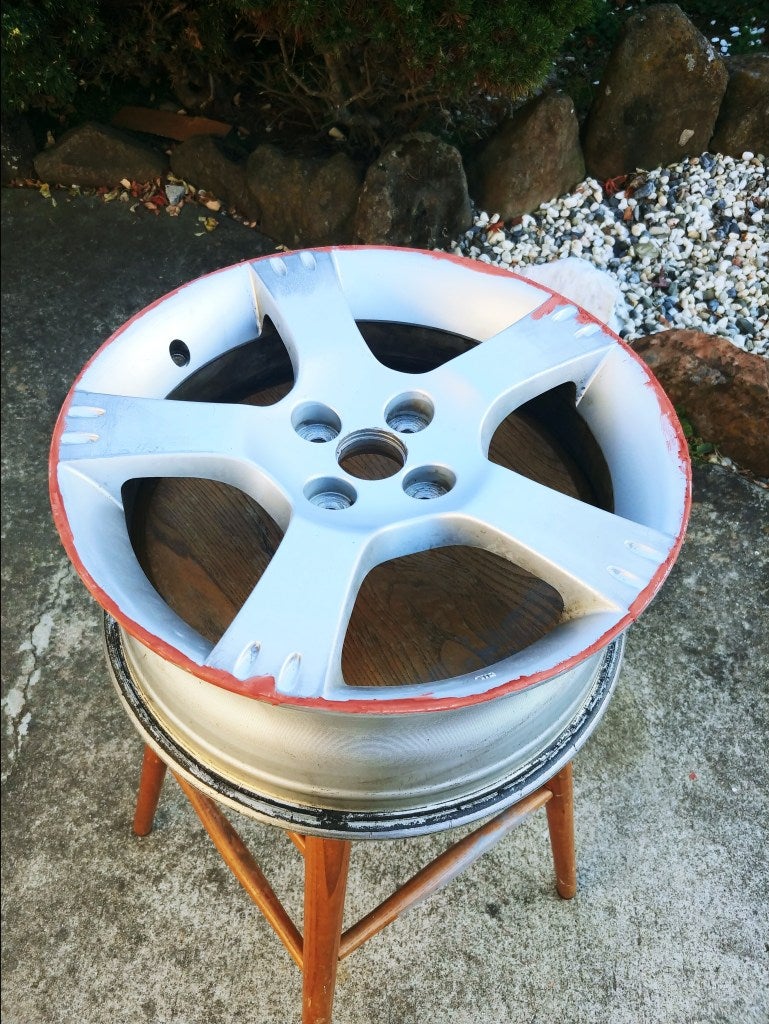
After sanding, I filled in the gouges with some filler and then sanded the excess later.
Even more Sanding, then Primer!
The next step in the process was sanding off the excess filler from the edge of the rim and making sure that the surface was smooth. I took that same 220 grit sandpaper I used to sand the rim beforehand, and then very lightly sanded the filler. After sanding the surface, I used my hands to feel for any rough patches where I would have to sand some more or use more filler. If I was satisfied with the smoothness, I would move on to laying down some primer!
!!! UNKNOWN CONTENT TYPE !!!
After cleaning the wheels again with a solution of water and dish soap and letting it dry, I started spraying on a few coats of !!!error: Indecipherable SUB-paragraph formatting!!! . I chose a sandable primer since it could fill in any imperfections on the surface of the rim. Also, it could fill in any mistakes I made when sanding away the filler. Once the wheel was primed and ready for paint, I washed it off again with dish soap and water.
!!! UNKNOWN CONTENT TYPE !!!
The Main Event: Painting
This ended up being the most tedious part of the process, but not for what you might think. I had some paint I wanted to use lying around that matched the original finish of the wheels. After spending an entire can experimenting and painting a single wheel, I had to travel to four different stores to try and find the same paint! I eventually found it, but if I had sourced the paint beforehand, I wouldnít have wasted so much time. Lesson learned; make sure you have all of your materials!
Anyway, I used !!!error: Indecipherable SUB-paragraph formatting!!! to get a cast aluminum finish similar to the OEM finish, and I sprayed at least three coats of paint per wheel. This wheel paint has more sparkle than the original OEM finish, but since the Shinsen Miata has metallic paint, it works! The one thing about the paint though was its finish. Once it dried, the surface of the paint was very rough; not like the original finish at all. I tried to rectify this by polishing the primer before painting with high grit sandpaper, but it made no difference. I ended up color sanding each wheel with 2000 grit sandpaper to get that polished feel.
!!! UNKNOWN CONTENT TYPE !!!
Better Than New!
The result of my ďlittle DIY projectĒ was a set of wheels that not only looked brand new but almost was impossible to tell where the curb rash was from the beginning. In fact, the finish was so good, the technician who fitted the new tires I ordered on the new rims couldnít tell where the original curb rash was! Not bad for a first-timer!
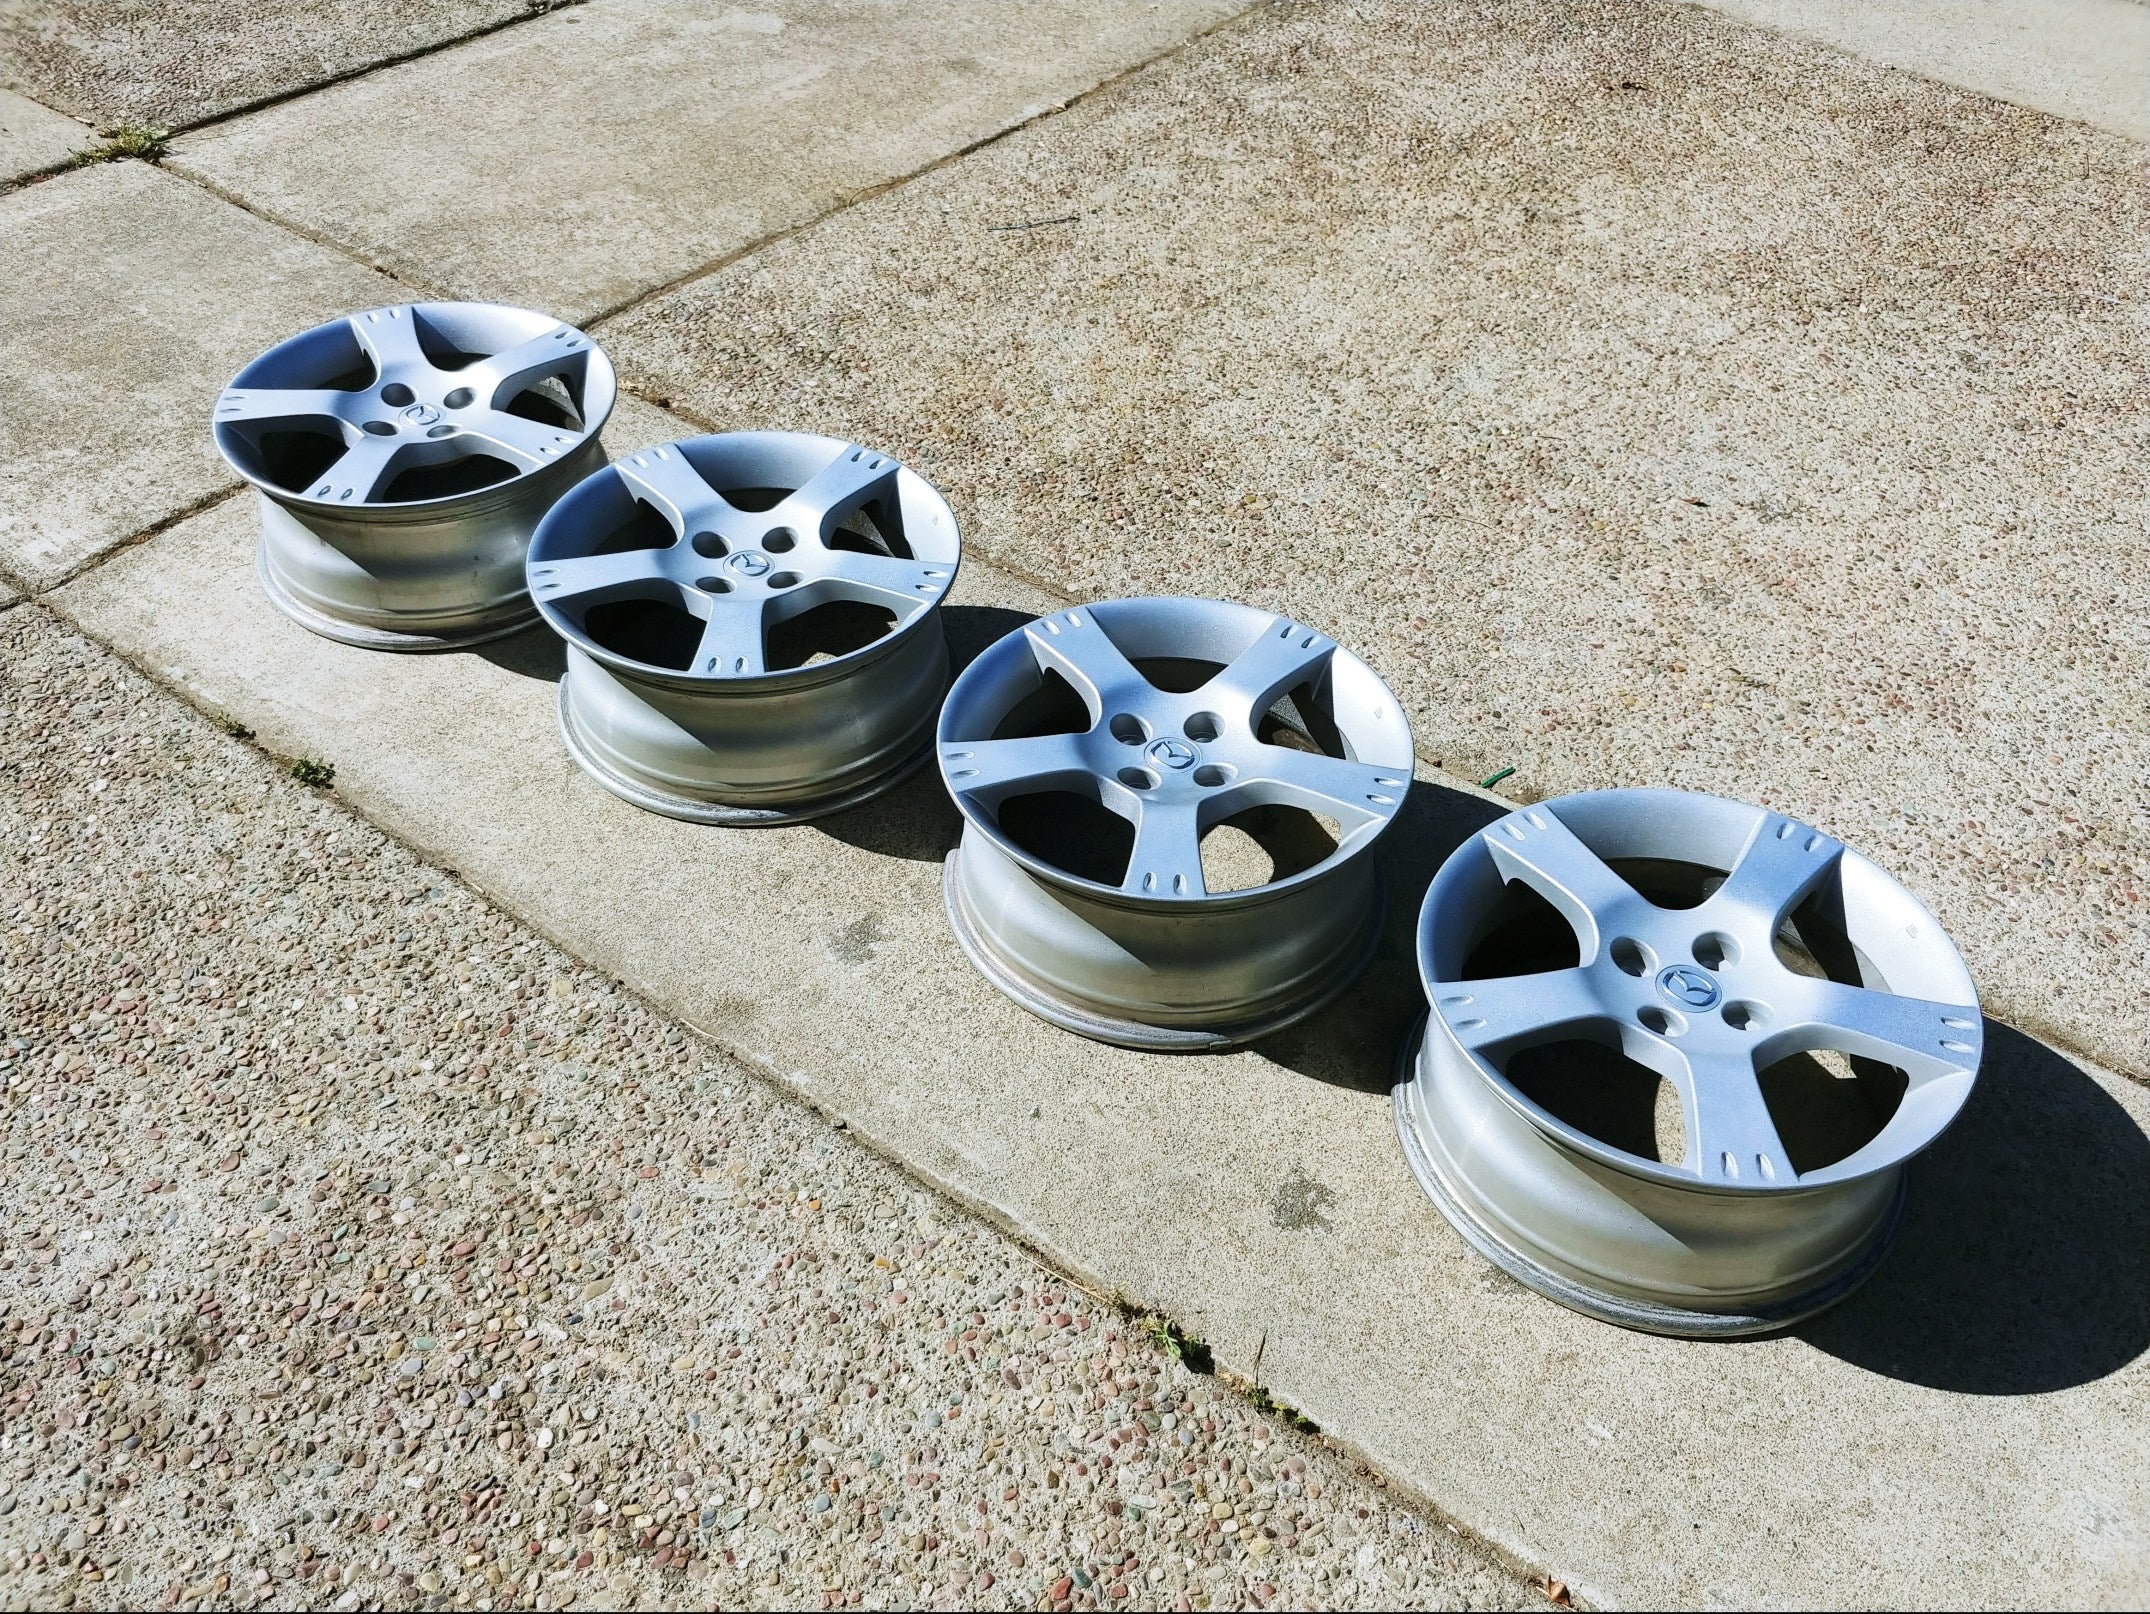
The finished wheels, painted and color sanded!
The best part about successfully finishing this large project was the fact that I managed to get everything done the day before the 30th Anniversary Miata Reunion! I set about this project with the goal of having something new done to the Miata, and I managed to pull it off!
Whatís Next?
Now that the wheels and tires are finished, the next step is taking on another Do-It-Yourself project Iíve been putting off: Repainting the front bumper. Since I bought the car, the front bumperís paint has been peeling in places and there are huge scuff marks under the bumper from the previous ownerís Auto X sessions. It might be worth replacing the front valence altogether with a new one, but who knows? Maybe I could save the whole thing and keep the car as original as possible?
Letís see what happens!
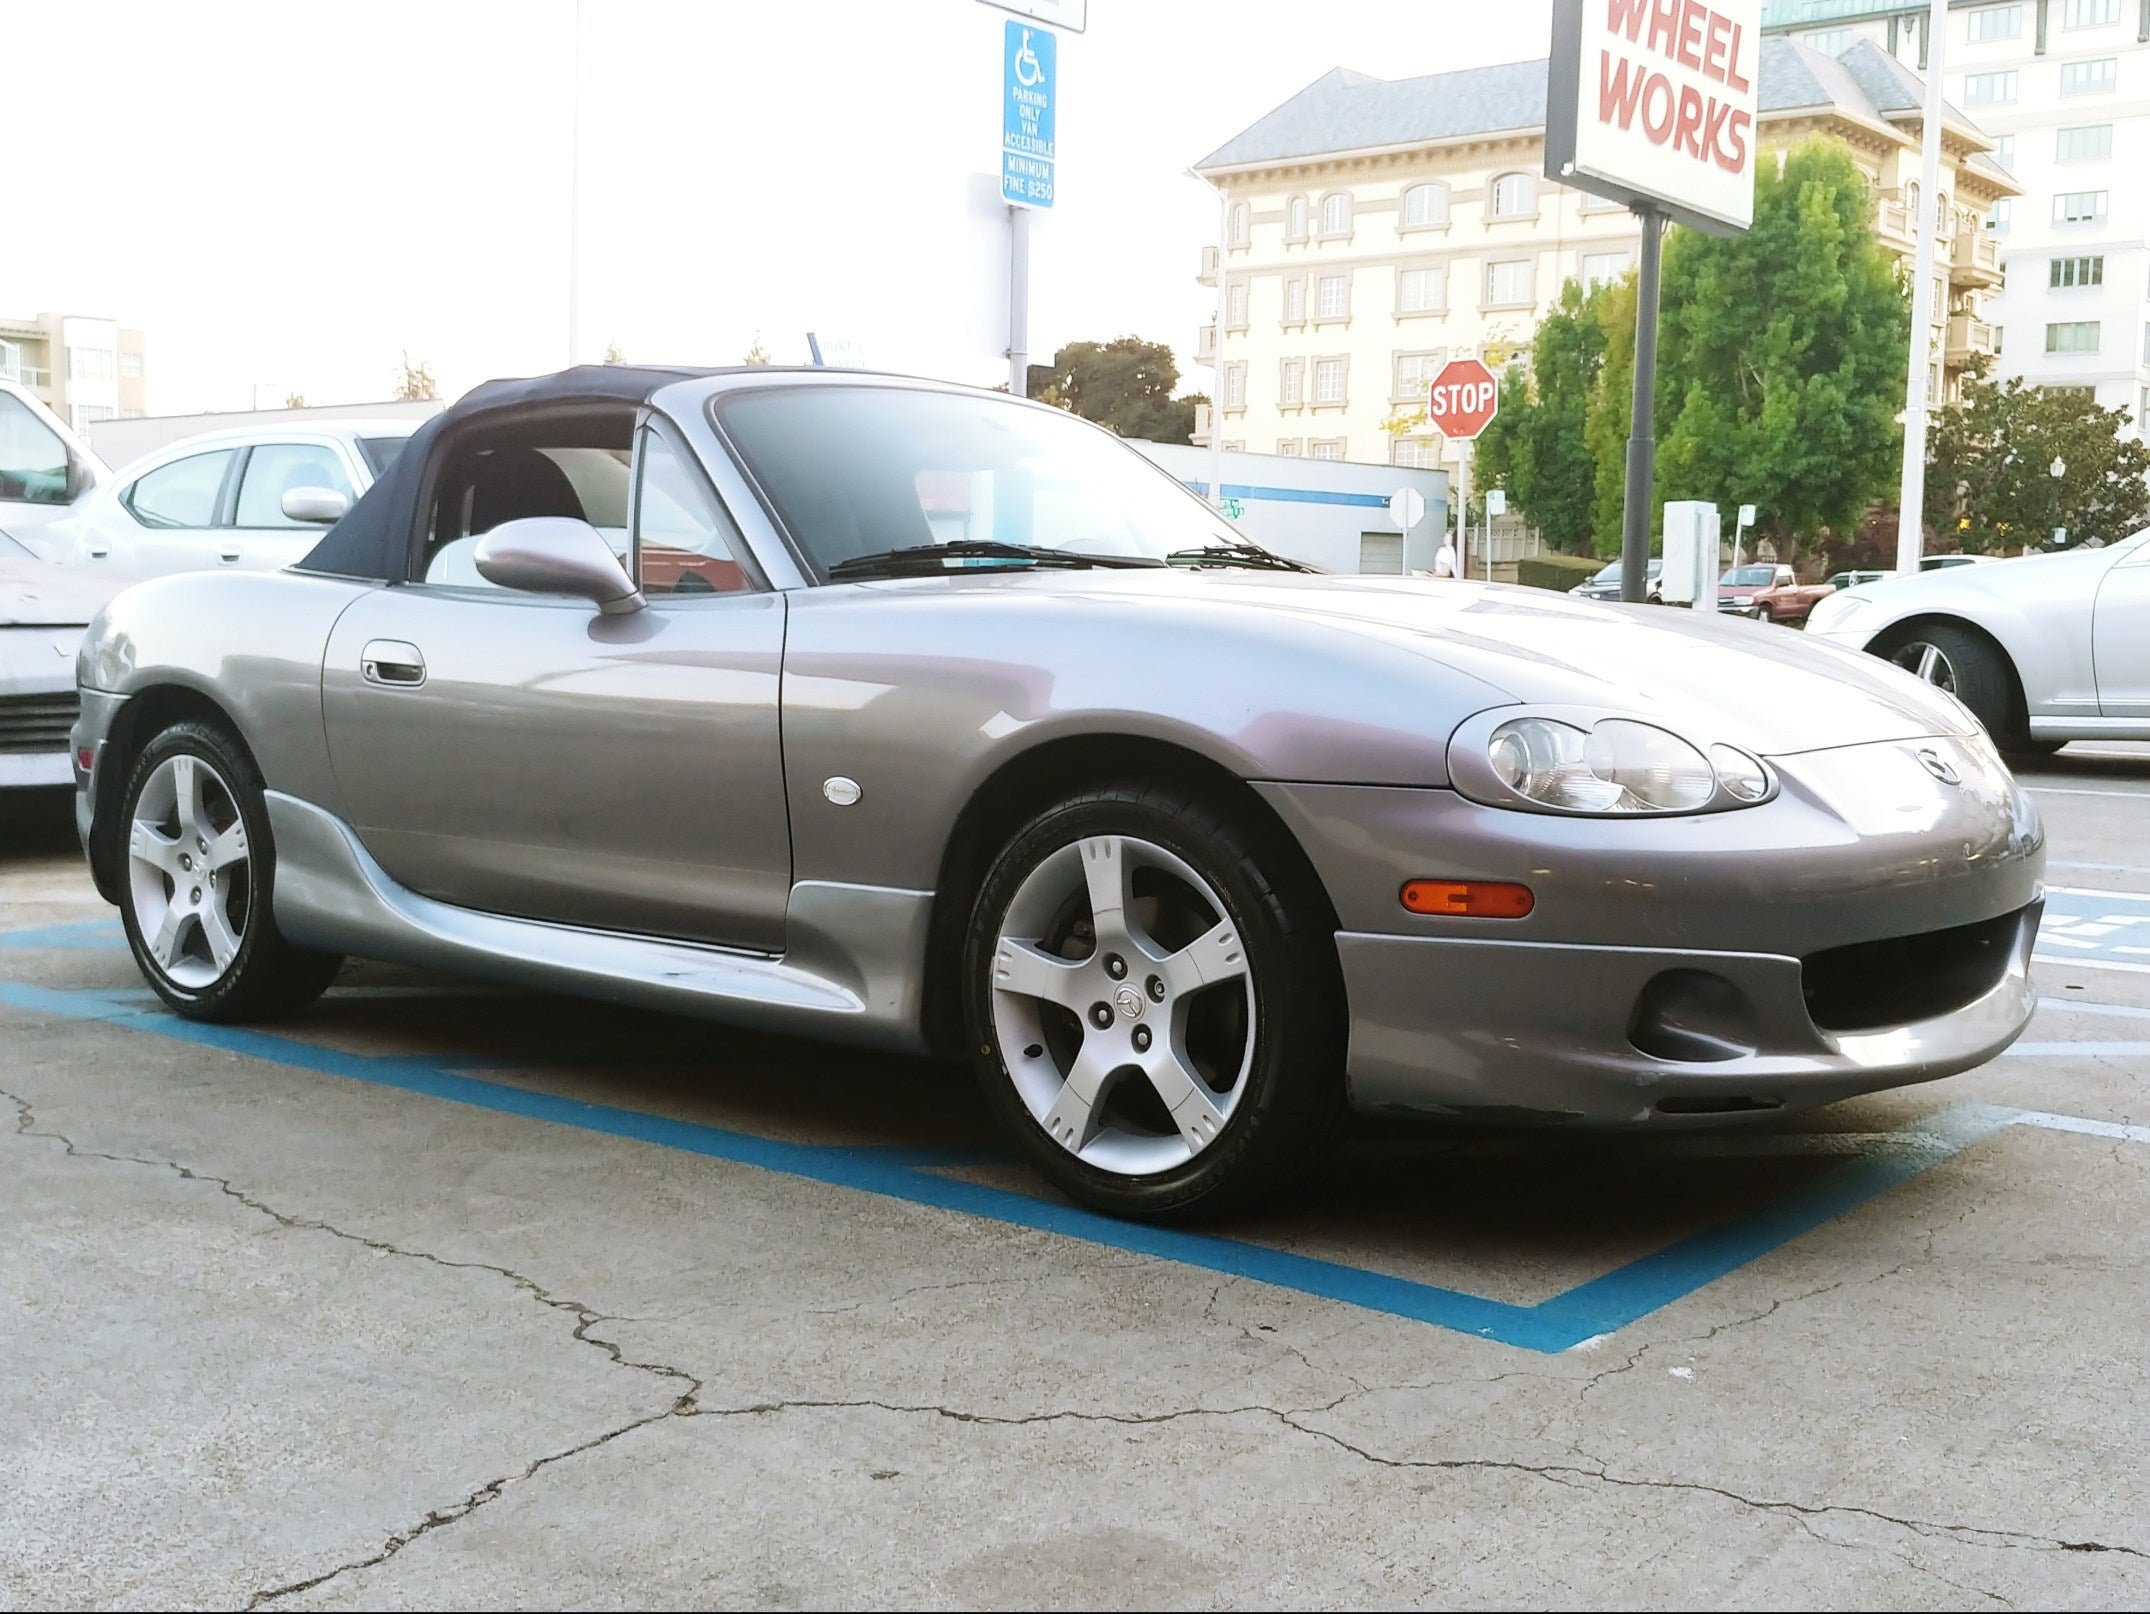
The new OEM wheels mounted on brand new Firestone Firehawk Indy 500s!
 Nick Has an Exocet
> Corkscrew'd
10/17/2019 at 18:46 |
|
Awesome. Iíd not heard of using bondo on wheels but it looks to work decent. Some people I know have used jbweld but itís hard to sand smooth.
Are you going to lower the car a touch?
 Corkscrew'd
> Nick Has an Exocet
10/17/2019 at 19:03 |
|
In some videos Iíve seen, people have used aluminum infused filler. I
only used what I had already lying around in my friendís garage, so Iím doubly happy with how everything turned out!
Yeah, Iím weighing my options for lowering the car. Iíve got Bilsteins from an NA on it right now, but when I plan on replacing them Iím thinking of using a combo of KYB AGX shocks
and either Racing Beat or H&R Lowering Springs.
 Chariotoflove
> Corkscrew'd
10/17/2019 at 19:07 |
|
Very nice, but hereís my problem. I have lovely chromed OEM† wheels, and I got just a hint of curb rash on the edge one day, only a couple of inches. I spent so much time on the web and YouTube looking for good fixes. I finally determined that itís an entirely different animal from other rims, and there really isnít any economical way to patch it other than an expensive re-chrome plating. So, Iím just glad it doesnít seem to be peeling, and I try to ignore it.
 Corkscrew'd
> Chariotoflove
10/17/2019 at 19:16 |
|
Wait, not even polishing and chrome spray paint would work?
 Wrong Wheel Drive (41%)
> Corkscrew'd
10/17/2019 at 19:17 |
|
Im a fan of the FM coils I have, especially since they have withstood abuse over time. I have about 50,000 miles on them and they work the same as new still. I have replaced the bump stops when I put them on another Miata. Currently adjusted as low as they will possibly go within reason.
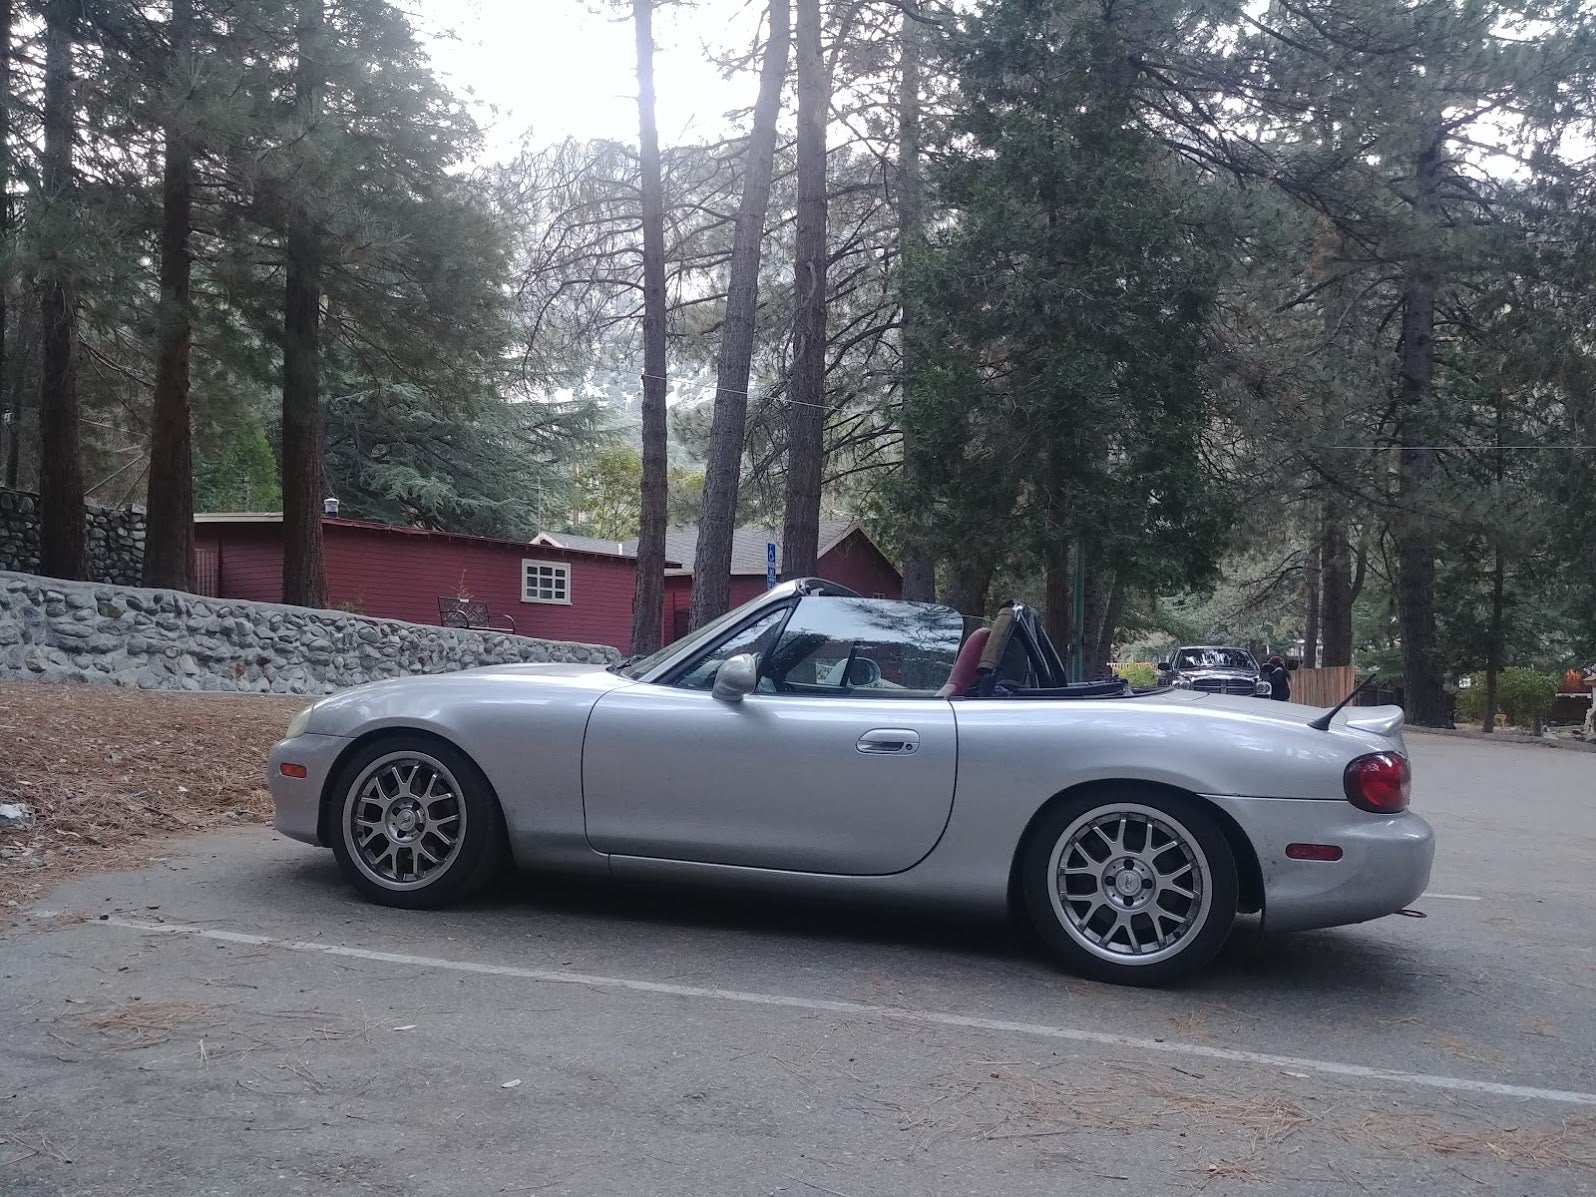
 Wrong Wheel Drive (41%)
> Corkscrew'd
10/17/2019 at 19:25 |
|
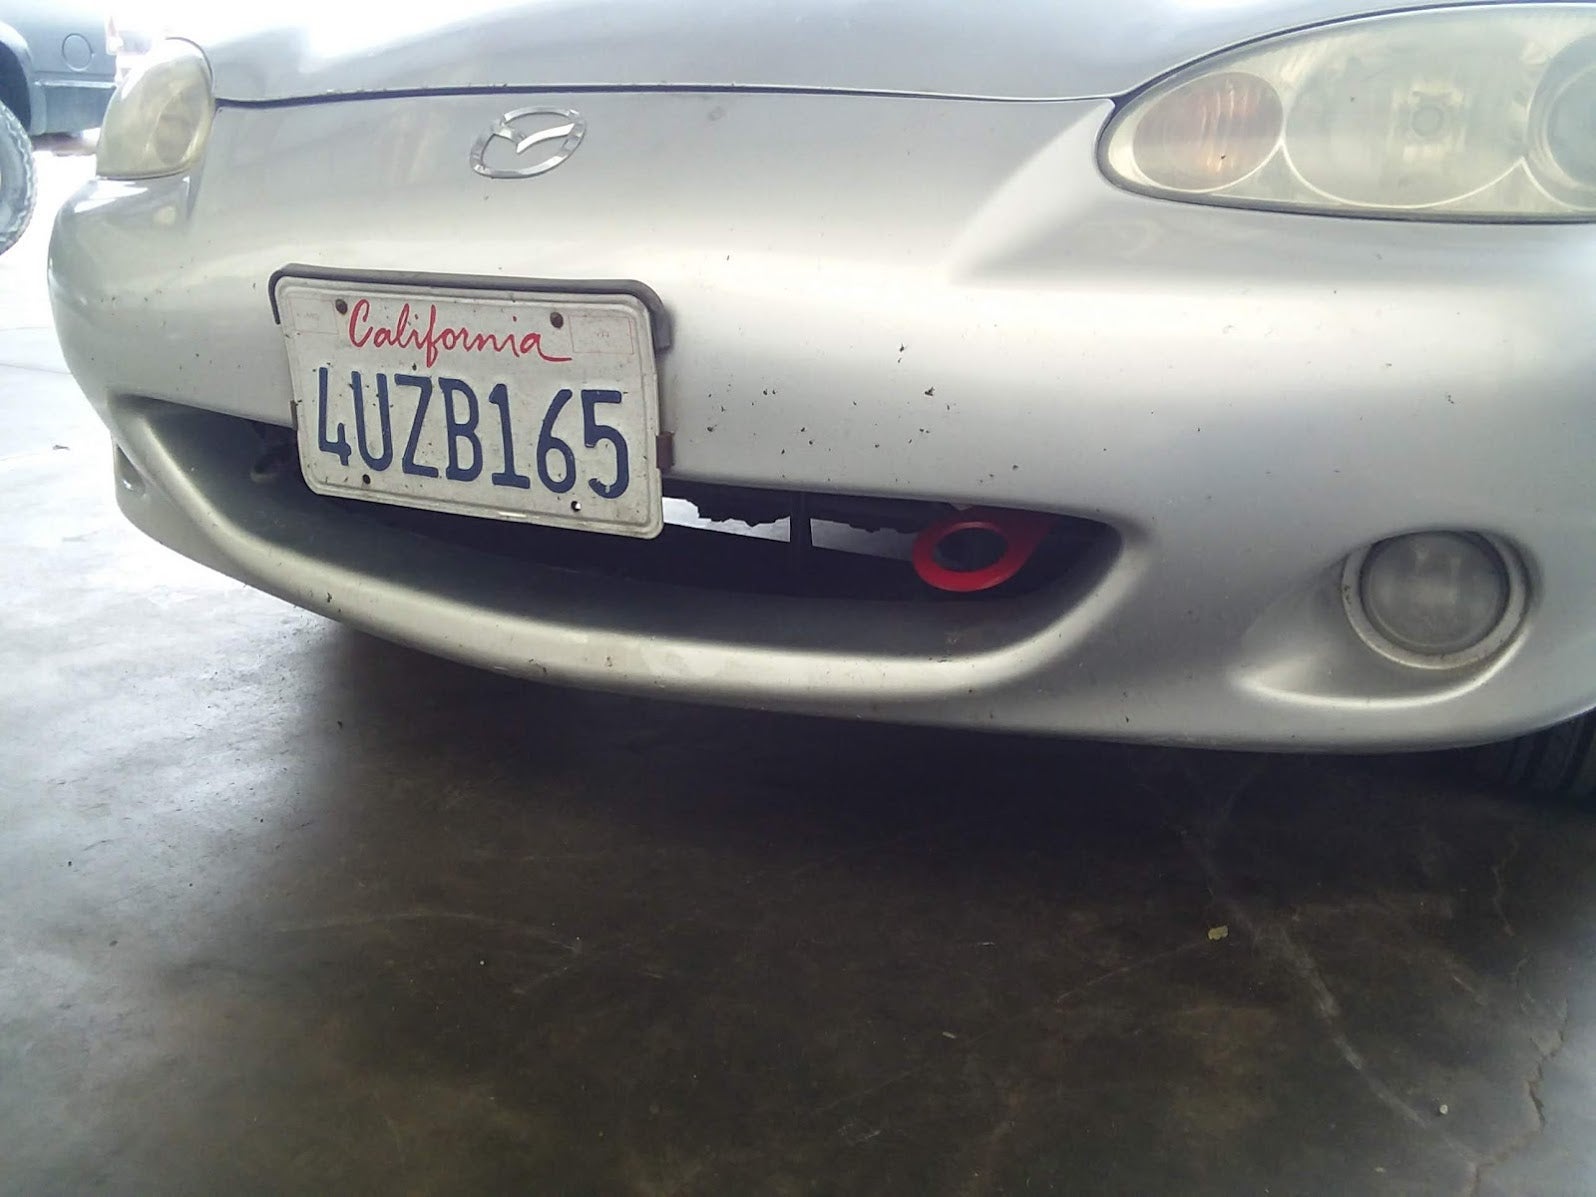
Looks good, I would have never thought to try and repair wheels. But seems like them came out pretty good. My destined for the junkyard miata is currently sitting on a set of oem 15 inch 5 spoke wheels from an NB1. They arent quite the right width for a lowered car to look right, especially with my camber. They look pretty good for the $75 I spent on them though. I have always been a fan of the 949 6ULs which is also why I kind of like the random cheapos the previous owner put on my current car.
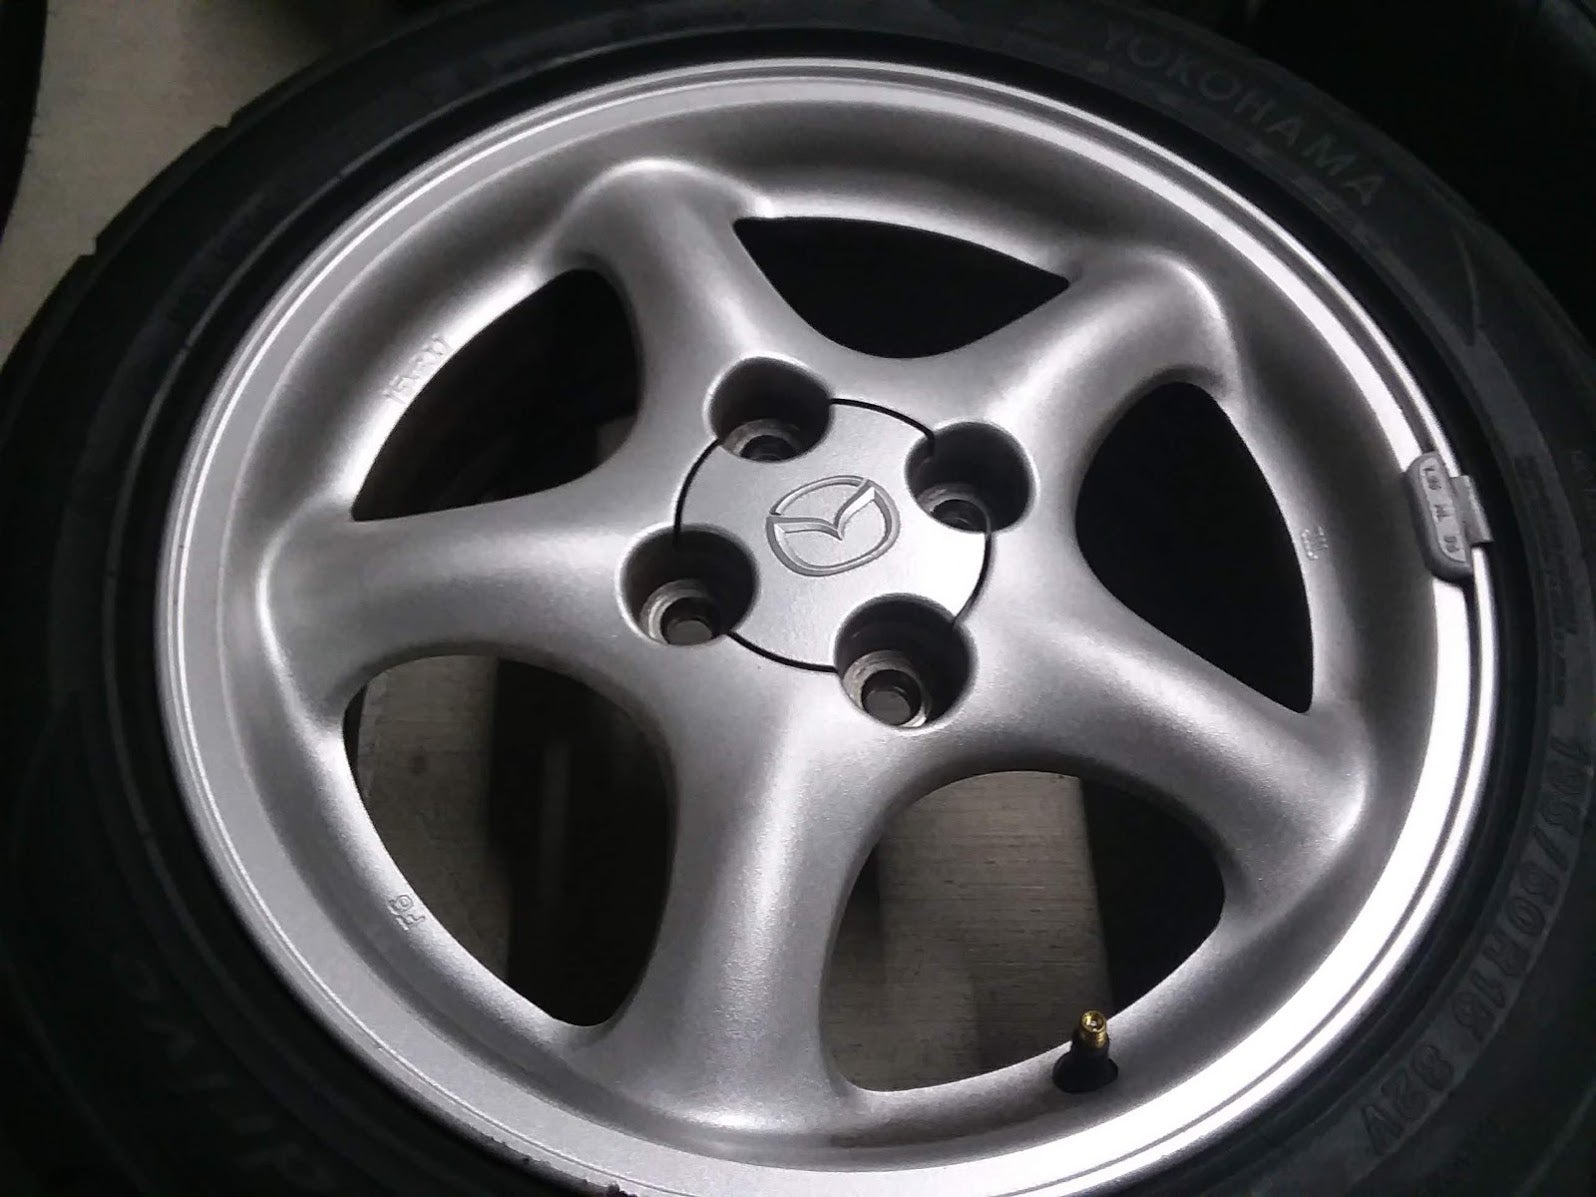
Anyways, looking forward to hearing how the bumper painting goes. Ive got quite a bit of clearcoat fade on this Miata, the hood, windshield frame, and trunk with the worst of it. Ive thought about dabbling into vinyl but instead have been spending the money on mechanical repairs and track days.
My front bumper probably has the same wear and tear to it as you might have but I dont worry about bumpers usually. Im at 252k miles so its pretty good for the original paint from 2001 lol
 Corkscrew'd
> Wrong Wheel Drive (41%)
10/17/2019 at 19:39 |
|

Flyiní Miata is another brand I was thinking of for the springs. Looks like theyíre the progressive kind too! Iím glad to hear how much you like them; that helps me a bunch!
So the setup I was thinking was a combo of some lowering springs from
FM,
†a set of KYB AGXs, and FM bushings. Iíd like to try and build my own kit for around $600, so Iím always looking around for a deal. My car already has swaybars (stock?), but if I can throw in something a little beefier Iíd have myself a nice little canyon runner!
 Corkscrew'd
> Wrong Wheel Drive (41%)
10/17/2019 at 19:50 |
|
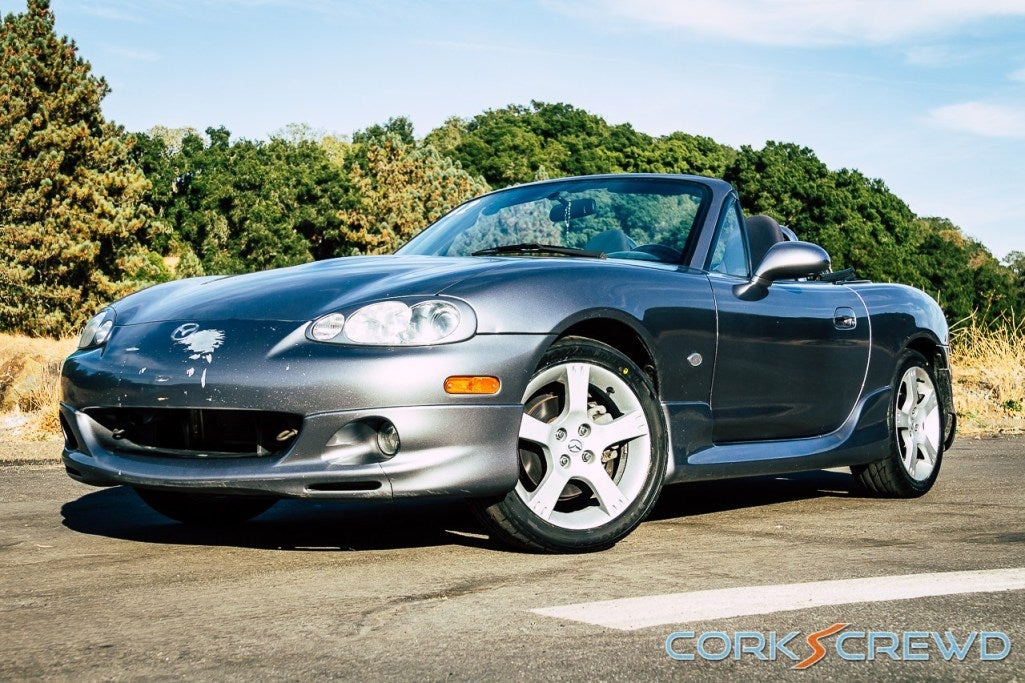
Wow, yours is pretty clean considering the mileage! The reason why my bumper is borked is because the PO biffed it into some bushes during an auto-x event. The lower valence below the driverís fog lamp is cracked, the bottom is all scuffed down to the plastic, and the bumper itself is chipped to hell from rocks. Also, the license plate mount was driven into the nose, so the paint there is all peeling off and there are gouges from the bolts holding the license plate.
Iím thinking it might be easier to just replace the valence and repaint the bumper.
 Wrong Wheel Drive (41%)
> Corkscrew'd
10/17/2019 at 19:52 |
|
the stock swaybars are useless really. That actually made more of a difference to me in terms of handling than the coilovers ever did. I have the FM front sway bar and stock rear. People generally go for the racing beat bar but they do the same thing for similar costs. I dont really see the point in trying to match up springs and shocks like that rather than just going for a coilover kit. Even the bargain basement Racelands feel pretty good versus stock. Only worth spending more for a hardcore track junkie. But idk if I would trust longevity out of a lot of the budget brands. A proper alignment makes a world of a difference afterwards as well to tie it all together. As much as I love the engine in my STi and the way it corners flat completely stock, taking the Miata on a canyon run is just magical every time and cannot be beat for enjoyment.†
 Corkscrew'd
> Wrong Wheel Drive (41%)
10/17/2019 at 20:04 |
|
Funny, I had the Flyiní Miata Stock Alignment done when I got my new tires, with a 1/32"
rear toe done for slightly more stability on the highway. There is definitely a difference!
I hear that the Tokico Illumina shocks for the NB2 are a great match with the FM springs, but now weíre approaching coilover territory!
Getting them used on the other hand...
 Wrong Wheel Drive (41%)
> Corkscrew'd
10/17/2019 at 20:08 |
|
It helps when the previous owner never crashes it into anything! While my mechanical woes seem to never end (one thing breaks after I fix the previous thing) I can take solace in the body being straight and rust free and entirely crash free. I could see why you are wanting to fix that bumper! I tried my hand at paint correction on the bumper on my other miata but it was a whole lot of wasted effort unfortunately.
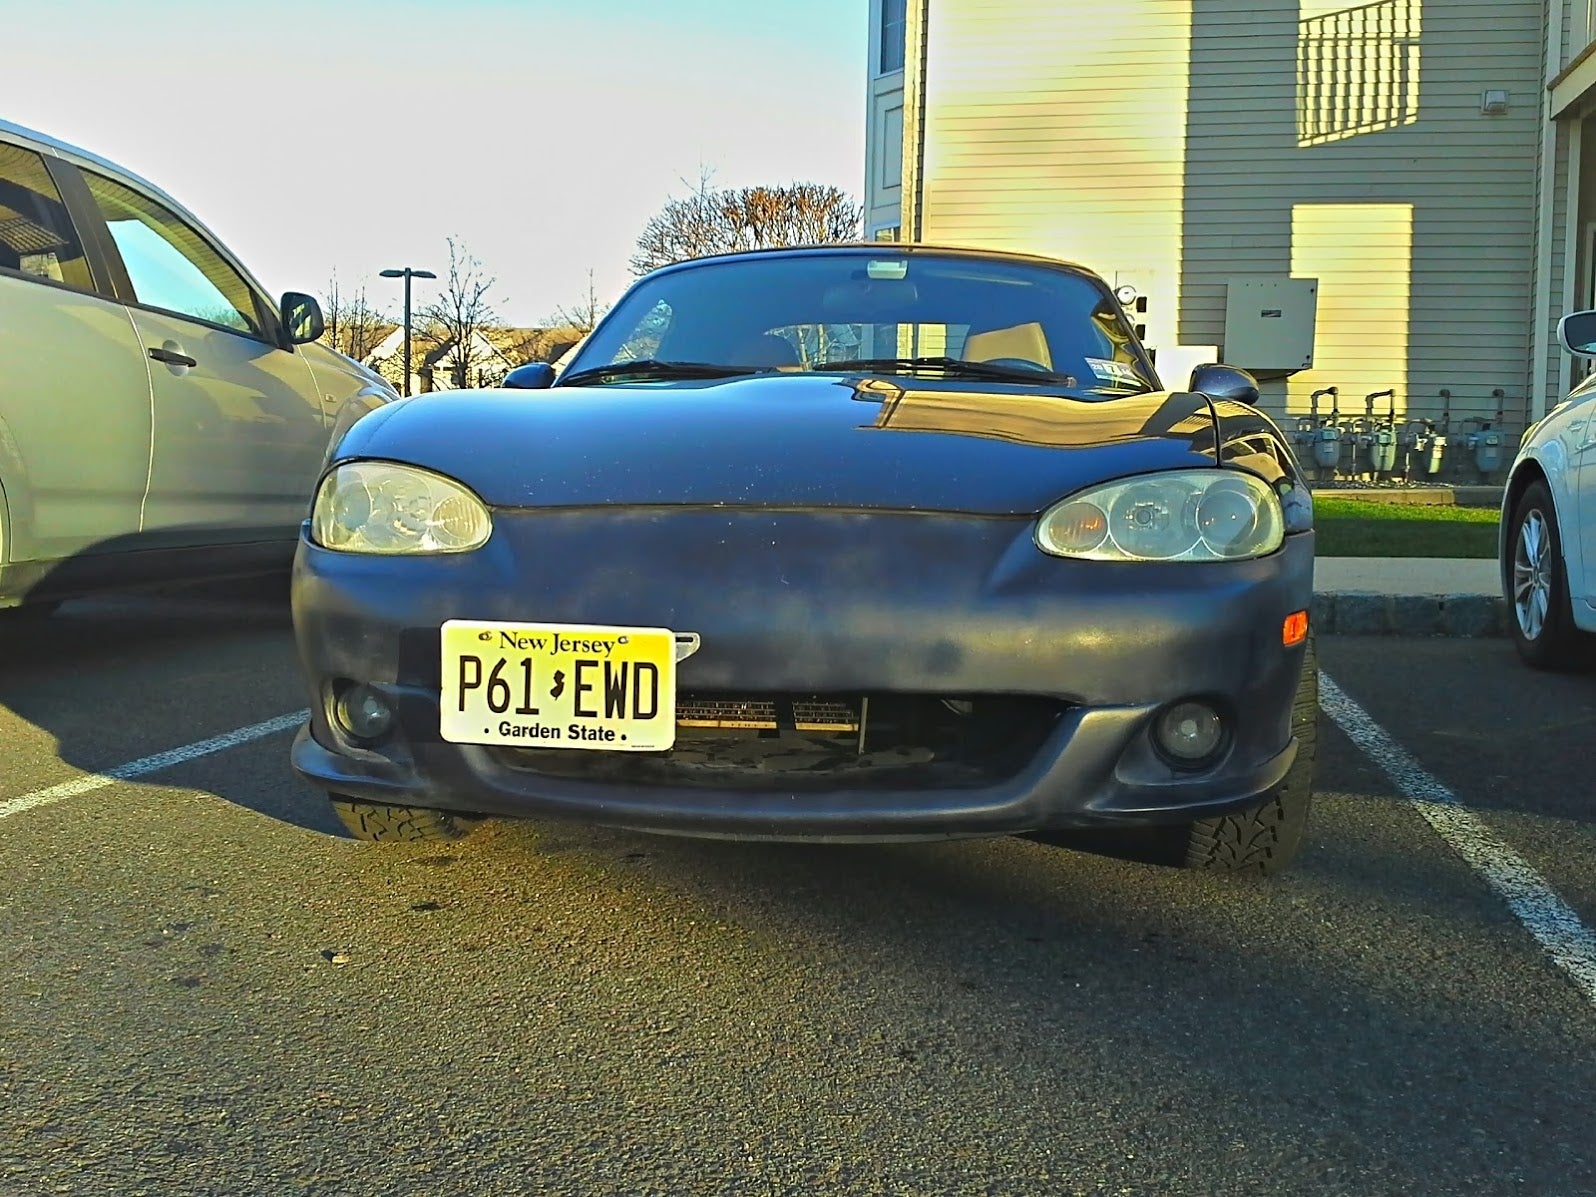
But my paint overall was pretty screwed up!
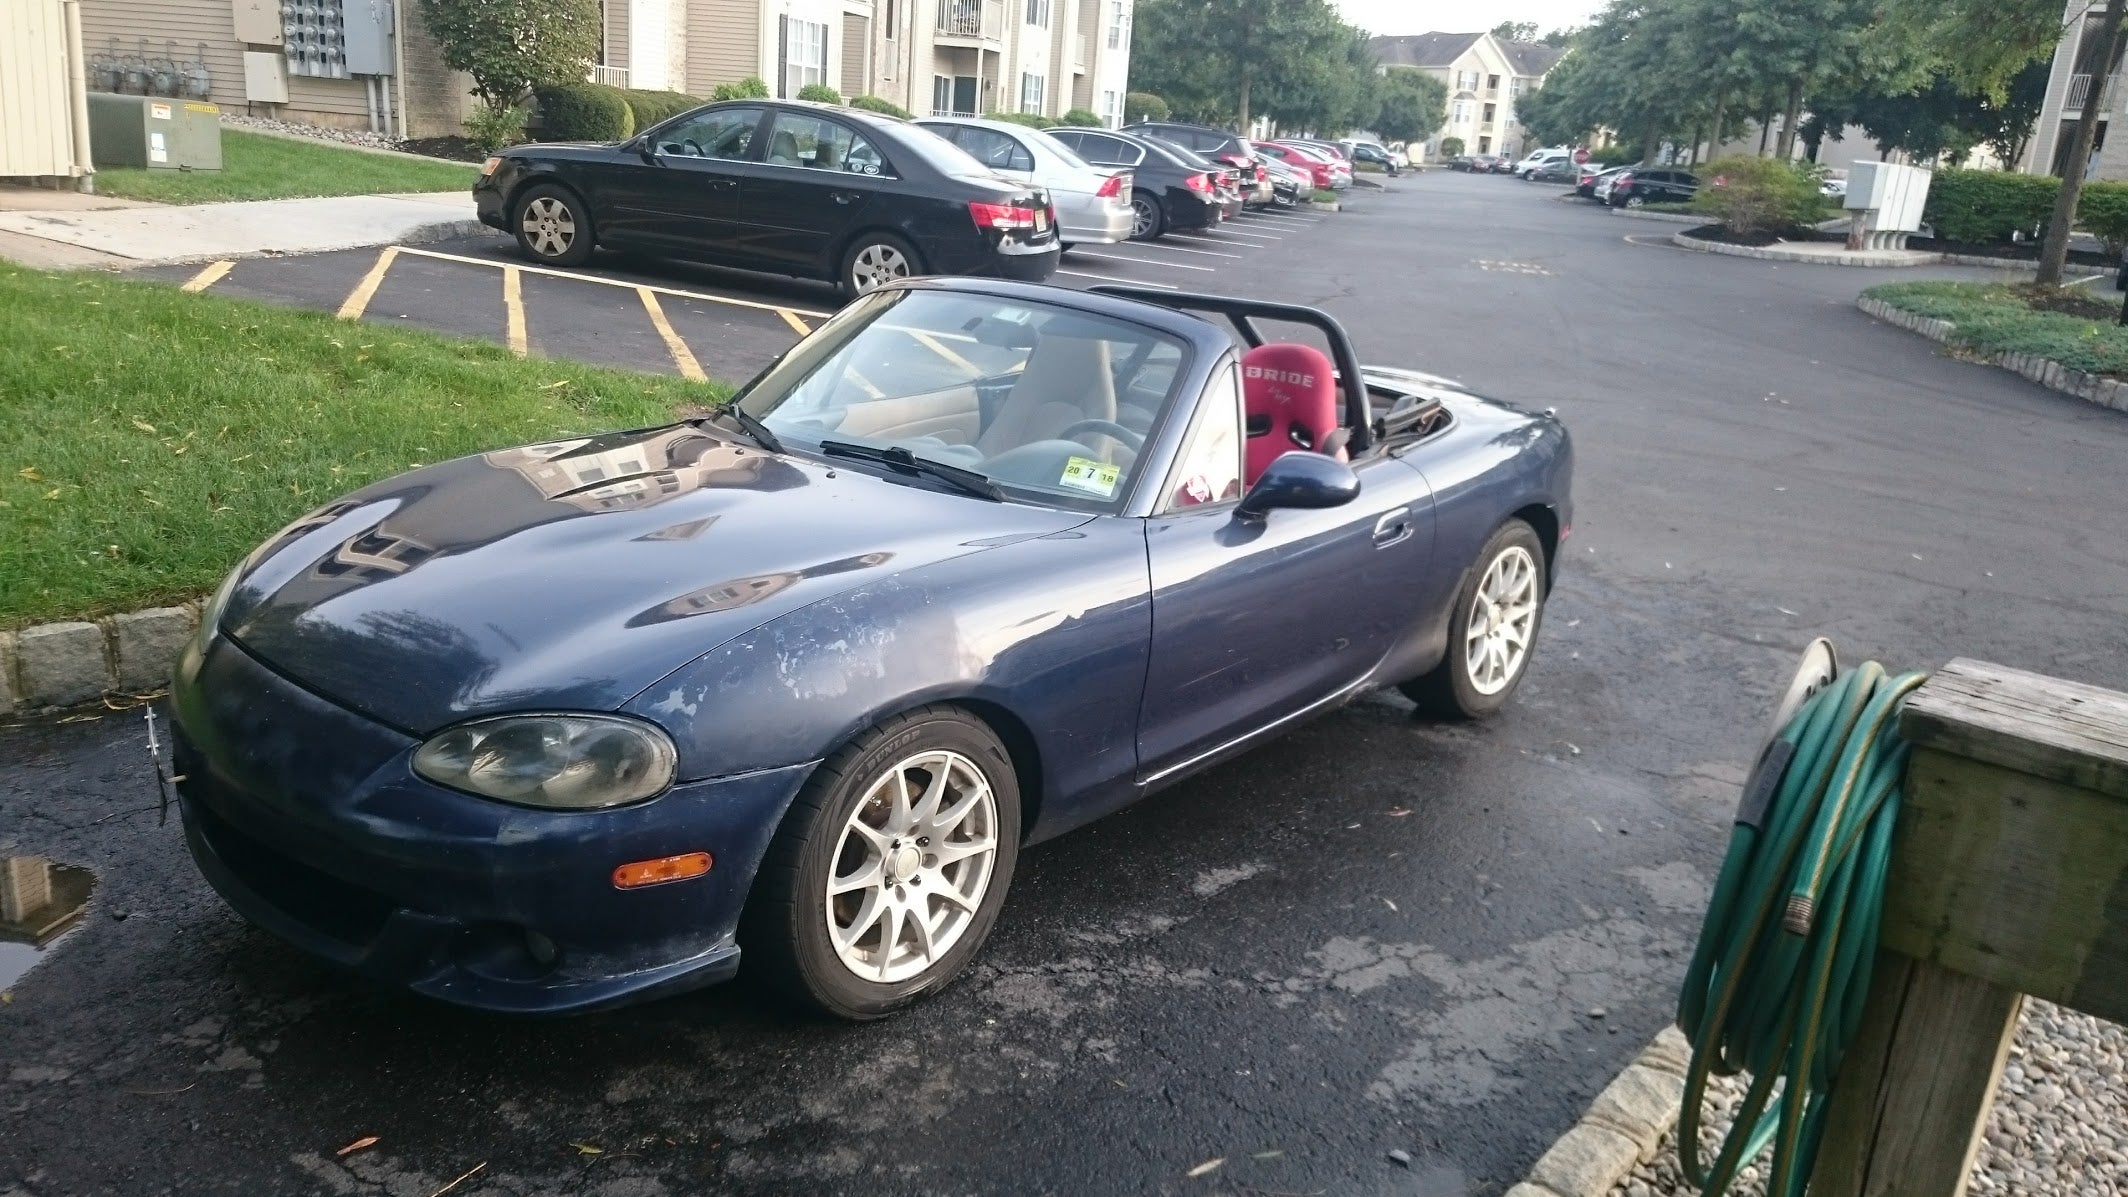
Hence how it sits today where I was finally going to paint it right but then the motor died and the frame rusted away
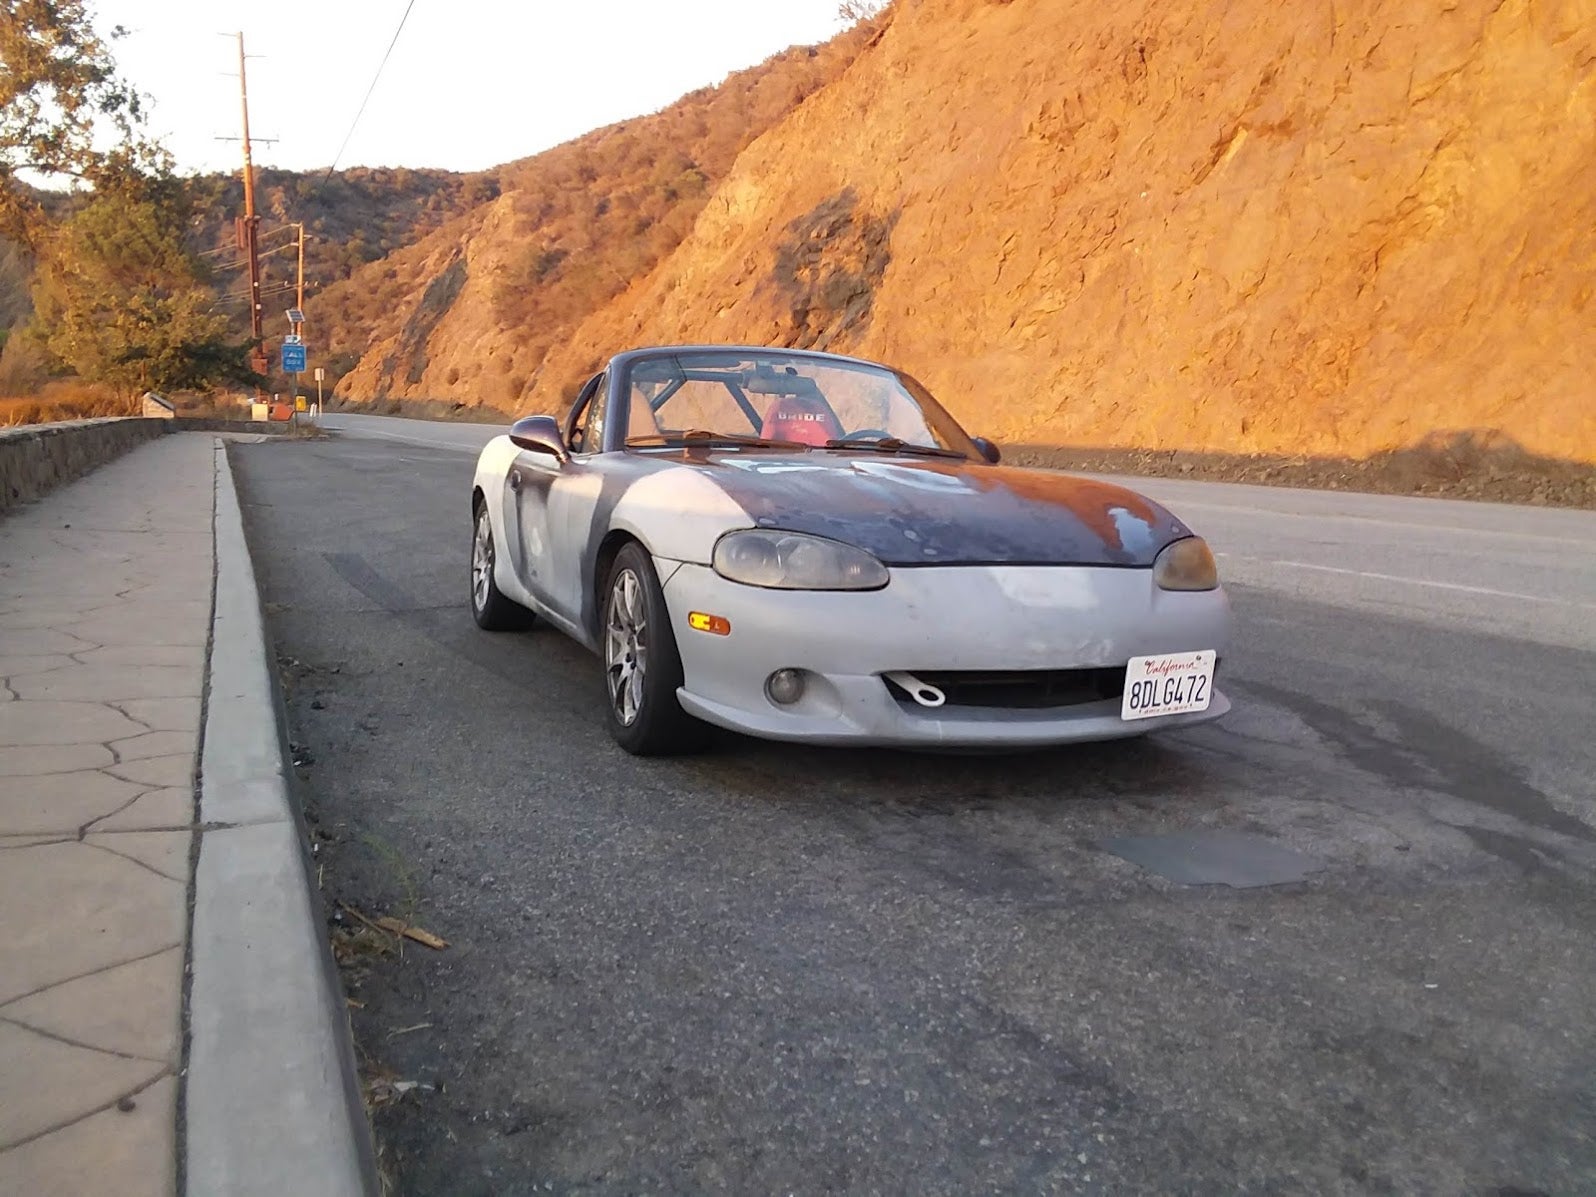
Given infinite resources I would continue fixing it I guess but I would be insane to do anything other than junk it and continue on with the cleaner one.†
 Corkscrew'd
> Wrong Wheel Drive (41%)
10/17/2019 at 20:13 |
|
Hey, take off what you can and sell it to fund the other one lol!
Redline Auto Parts had the bumper I needed, but it looks like someone snapped it up. It had the matching paint and valence too!
 Wrong Wheel Drive (41%)
> Corkscrew'd
10/17/2019 at 20:17 |
|
Exactly the plan slowly but surely! As well as being a parts bin to pick parts for the good car. Especially the LSD since previous owner ripped me off a bit with an open diff swapped into the car that came from the factory with a torsen..
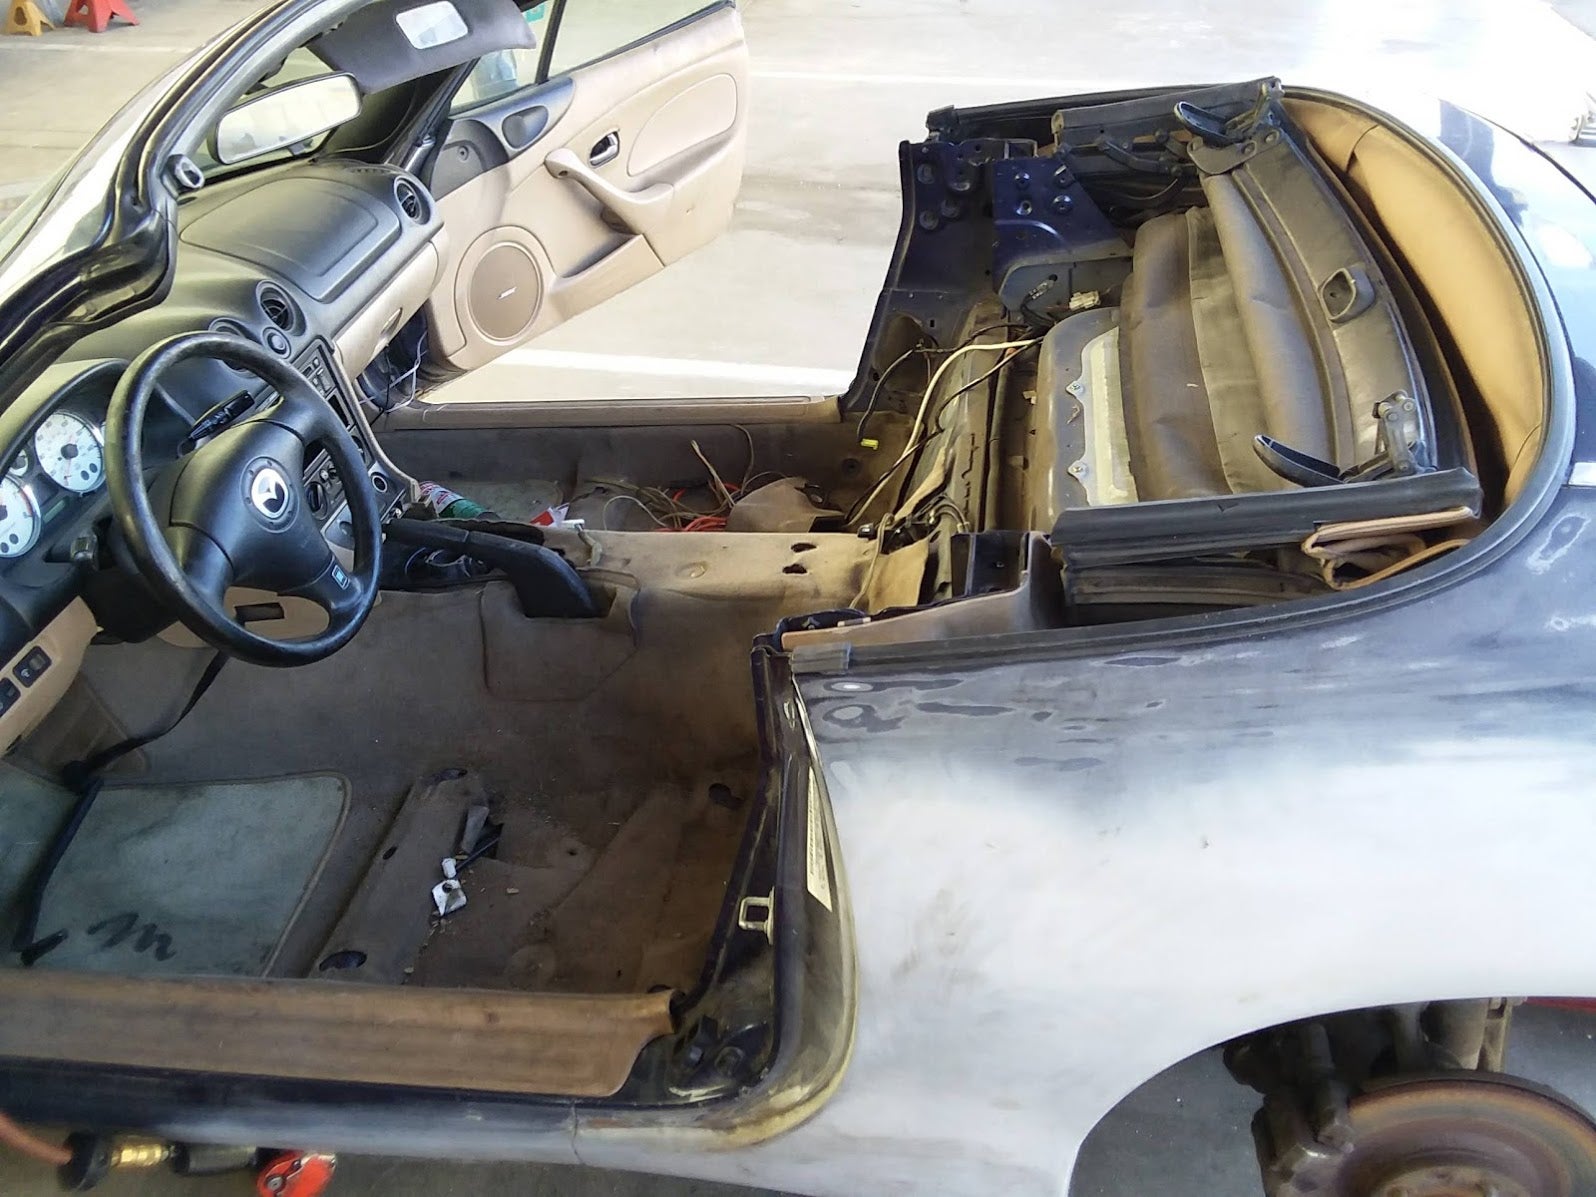
Want a mazdaspeed bumper? Already has the prepwork done and ready to paint it! I never figured out how to fix the mounting clips though which always annoyed me.
 Corkscrew'd
> Wrong Wheel Drive (41%)
10/17/2019 at 20:24 |
|

Y-Yeah!
Also, who tf swaps out the T orsen!?
 Chariotoflove
> Corkscrew'd
10/17/2019 at 21:41 |
|
The best Iíve come up with is sanding and some chrome like modeling paint for touch up that kinda looks like chrome. But Iím afraid to sand it down and risk starting some peeling and expanding the injury for a nominal gain.
Iím open to idea though.
 Corkscrew'd
> Wrong Wheel Drive (41%)
10/18/2019 at 00:40 |
|
You know what, I was just going over my own setup and I realized that I already have some decent Bilsteins from an NA Miata. I figured I could get the right lowering springs and FM bump stops, and a new front sway bar and pretty much make a really decent budget coilover kit.
I already have half the stuff I need! Iím running 5X Racingís shock mounting kit with FCM bushings so that I could use the NA setup with my stock tophats and mounts. It wouldnít take much more to get where I want the car!
 Corkscrew'd
> Chariotoflove
10/18/2019 at 00:47 |
|
The wheels are still aluminum, right? You could try Bondo metal reinforced filler and just put some on in the curbing, then just sand it with 400 grit to get it nice and even. Finish with 1500-2000 grit and then spray it down with a layer of chrome spray paint †and see where that takes you.
 Wrong Wheel Drive (41%)
> Corkscrew'd
10/18/2019 at 01:18 |
|
It will certainly end up even more enjoyable with all of that! I like stock miatas, they are cool and all. But heavily modified track rats are even better. And everything in between is varying degrees of awesome, especially when used appropriately.†
 Chariotoflove
> Corkscrew'd
10/18/2019 at 01:23 |
|
Sounds like a decent plan. Iíll look into that. Thanks!
 Corkscrew'd
> Chariotoflove
10/18/2019 at 03:03 |
|
No problem!
 Thomas Donohue
> Corkscrew'd
10/18/2019 at 09:47 |
|
No issues with balancing the wheel after the bondo treatment?
 Corkscrew'd
> Thomas Donohue
10/18/2019 at 12:20 |
|
Nope, she runs almost like new! There actually isnít a lot of filler on each wheel since I sanded down the gouges and then added filler. I donít think there would be enough to affect wheel balancing.
Then again, the wheels had to be rebalanced since theyíre from another car, so idk for sure.